Monday, December 28, 2009

Christmas Decorations

Better late than never...I wanted to post our pictures our our home Christmas decorations.
Our floating ornaments over our staircase.


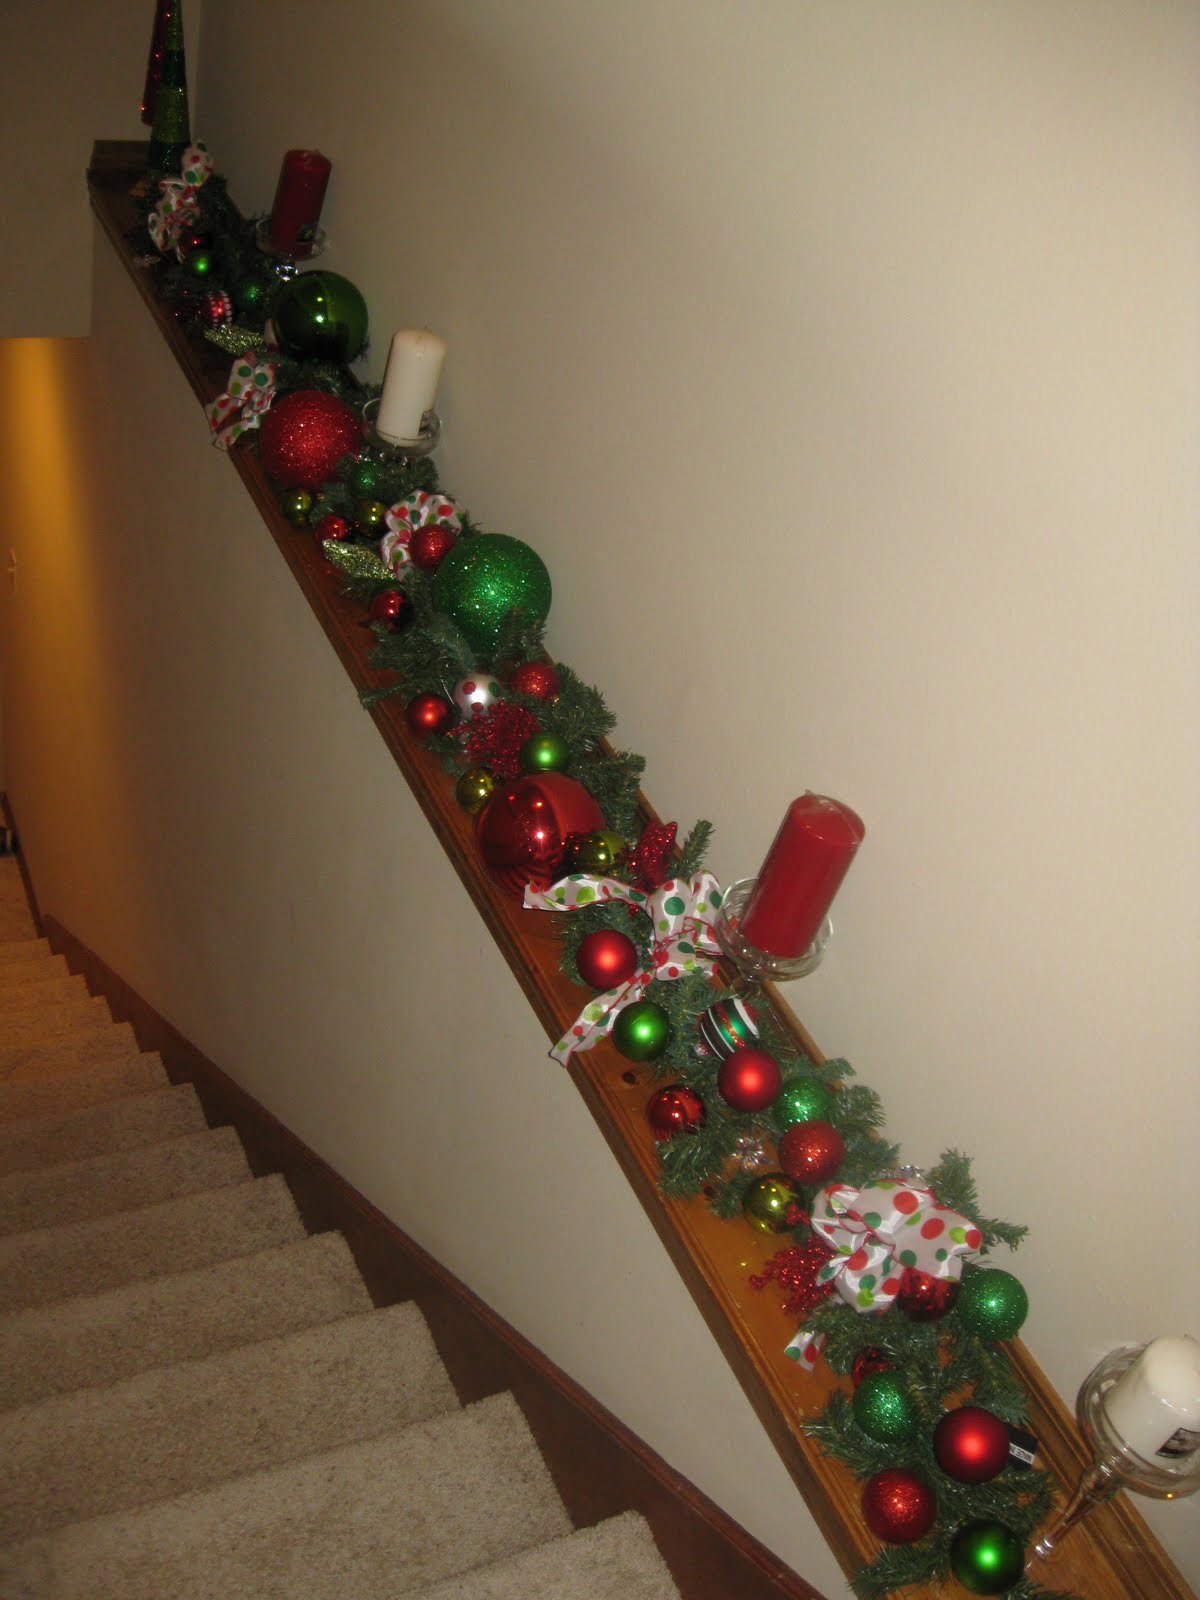
The garland doing down to our basement

Zachary's tree


Our Stockings
The Mantle


Our tree


Willow Tree Nativity


Mini tree with Snowmen


I hope everyone had a wonderful Christmas!

Wednesday, December 9, 2009

Seven Layer Salad


This is a VERY easy salad to make. As long as you have all the ingredients it can be thrown together rather quickly. This is the salad I usually take to family gatherings or holidays.

Ingredients:
1 pound bacon
1 large head iceberg lettuce - rinsed, dried, and chopped
1 red onion, chopped
3 hard boiled eggs, chopped
1 (10 ounce) package frozen green peas, thawed
10 ounces shredded Cheddar cheese
1 1/4 cups mayonnaise
2 tablespoons white sugar
2/3 cup grated Parmesan cheese

Directions
Cook Bacon. Crumble and set aside.
In a large flat bowl, place the chopped lettuce and top with a layer of onion, peas, egg, shredded cheese,and bacon.
Prepare the dressing by whisking together the mayonnaise, sugar and Parmesan cheese. Drizzle over salad and refrigerate until chilled.


Tuesday, November 24, 2009

Christmas Garland

A couple weeks ago I shared with you items from my birthday purchase. If you want to read about it you can click here. What I ended up using those supplies for was a 15ft garland for my stairs. I have seen these garlands in stores from $75-200 depending on the quality and quantity. Again I figured I could do it myself. I am quite pleased with how it turned out. It does have battery powered white lights wrapped in in. Since I don't have a power outlet nearby I had to go with a battery operated one.


The only problem I have with it is should I take the candles and glass candle sticks out of the display? If you peak real close you can see that the candles are still wrapped. I am trying to decide if...

1. I should take them back.
2. If I should apply glitter all over them.
3. Leave them as is with their wrapper off.

So if you have any suggestions please feel free to comment.

Tuesday, November 17, 2009

Copy Cat Wreath

On Saturday, my mother and I were in a very cute home decor and holiday novelty store. They had a ton of wonderful Christmas decorations. Some were priced fairly and others were a little out of my budget. A beautiful red and lime green wreath caught my eye but when I looked at the price tag my smile turned to disappointment. There was no way that I was going to pay $150.00 for a wreath for my front door that would proabably be marked down at the end of the season. So I reached for my camera took a picture and went to Hobby Lobby. Again everything from the wreaths to the swags were and continue to be 50% off this week. I found a plain wreath for $3.99 (originally $7.99 but with the 50% off sale). Then I found some swags and picks that I thought looked similar to the original wreath from the fancy store.

Today I spread out all of my supplies and went to work. 45 minutes later..TaDA! It's finished, I love it and it only cost me about $29.00. How do you like that Dave Ramsey????
Here is the photo of the stores wreath...isn't it beautiful!


Here is my wreath....it will take permanent residence on my front door after Thanksgiving.

Sunday, November 15, 2009

Christmas Bargin Rehab

I wanted to share with you two Christmas bargin finds. We have a local gift shop that has AMAZING decorations. The store is one of my favorites and have top of the line gifts. The store has a one a year liquidation sale in the spring. They marked down all of their "un-sellables" that had some sort of defect. Of course I had to take a look and see what I could find. I found these two Christmas trees and I knew immediately that I could fix them up to make them look like new.

Before: This red tree was originally $30. The sale price was $5 with an additional 50% off. Total price $2.50. I say SOLD!The tip of this tree was missing beads and it was a little loose.


AFTER: Finished!


BEFORE:
Here is tree #2 that was originally $32.oo. Marked down to $4 with an additional 50%. So I got it for $2.oo. You can see that the tip was missing beads as well as a section on the bottom.

AFTER: Perfect! You would never know that these were damaged goods.

My only wish was that they had more of these trees that were damaged! It just goes to show you that if you give a little TLC to something that is defected it can look good as new!

Monday, November 9, 2009

Projects in the making.....

Today was the first day I have been allowed out of the house for 5 days. I have recently been sick with pneumonia and per my doctors request I have been under house arrest. So where is the first place I go after my doctors appointment....non other than the infamous HOB LOB (aka Hobby Lobby)! I had some birthday money that was burning a hole in my pocket. Fortunately EVERYTHING I wanted was 50% off. It was my lucky day. I did not even have to use my 40% off coupon! WHOO HOO! Anyways I thought I would give you a sneak peek at a project I am going to get started on. Can you guess what I am going to make?

Stay tuned and I will show you the finished product soon!

Sunday, October 25, 2009

Personalized Baby Gift

One of my greatest friends from highschool and his wife recently had a baby boy. Tom is the ultimate St. Louis Cardinals Fan so I wanted to get Baby Aiden some Cardinals gear. I am sure Aiden has tons of Cardinals items so I wanted to personalize the gifts a little bit. This is something ANYONE can do. First of all let me reassure you that I do not have a fancy embroidry sewing machine. I wish I did but I do not. So I did the next best thing.

Instructions:I went to one of my favorite stores....Hobby Lobby. My husband calls it Hob Lob :) Anyways I purchased some iron on letters. Next I cut out the letters I needed for Aiden's outfit. Then I put the onsie and shirt on a hard surface. I use a wooden puzzle.

I placed my iron on the cotton setting and pressed it on each letter for 20-25 seconds. After that I turned the shirt/onsie inside out and ironed over the letters again. After one minute of cooling I revealed the final product.


Final Product of the t-shirt: Front of shirt
Back of T-shirt


Final product: Front of Onsie


Back of Onsie


I can't wait to see Baby Aiden sporting these outfits. I made two sizes. One for now and one for next spring when Tommy and Beth go to spring training. Now it's your turn. See what you can do to personalize your childrens items or gifts. It's easy. If I can do it you can do it.


I also made one for my cousin, Jen. Her little man is due in December. The gift was more for my Uncle Wayne...the baby's grandfather because he LOVES the Chicago Cubs.


Thursday, October 15, 2009

Taco Soup

Today is a rainy, cold fall day so Zachary and I decided to make some Taco Soup. It's super easy, healthy and almost better as a leftover. Enjoy!

P.S. Ignore my messy countertops...


TACO SOUP

16 oz. can chili beans
16 oz. kidney beans
16 oz. can black beans
8 oz. can tomato sauce
15 oz. can diced stewed tomatoes
16 oz. can whole corn
16 oz. creamed corn
pkg. taco seasoning
1 Tbsp. chili powder
1 lb. ground beef
1 onion, chopped
1 sm. can chopped green chilies (I omit these because I do not like hot or spicy)

Do not drain any of the canned foods. Add all ingredients to a crock pot and add taco seasoning to the soup. Brown the ground beef in a pan with the chopped onion and add this combination to the crock pot. Simmer for at least a couple of hours. Serve warm and garnish with optional toppings: shredded cheese, sour cream, tortilla strips (cooked in frying pan with olive oil and grated parmesan cheese). Another idea: Eat with large Fritos chips.

Wednesday, October 7, 2009

Happy Fall Y'all

Welcome to our home! Come in side and visit for awhile. I would love to have company in my home everyday. The blog world has made it happen. Enjoy!
I have had my fall decorations up for a couple weeks but I have been too lazy to take photos of all of it. I finally did it. I hope you enjoy the tour of fall in our home. It's my favorite time of year!<


These little trick or treaters are new to my decor this year.... I think they are cute! You'll have to look past the Santa & Zachary picture. I keep it up year round because it is my favorite picture. Someone very special is in that photo. You'll have to look real close to see if you can see who it is. Also in my candy jars I have faux pumpkins and peppermint lifesavers. Since Kevin and I are watching what we eat we opted not to put candy corns or yummy candies in there this year. :(

These pumpkin plates are new this year too. I got them at Homegoods in KC when we were up there for a wedding. I wish they would of had three of them.
I painted this pumpkin for Z when he was just 4 weeks old. I love it.

Saturday, October 3, 2009

Another Chalkboard Paint Project

A couple years ago my sister was selling this mirror in a garage sale. I quickly snagged it from her "for sale" pile and gave it a new home. I hung the mirror on our mantle for about two months until we got a canvased family photo to replace it. It was not until I saw the mirror in photos that I realized it was incredibly streaky.

This mirror has been sitting around for over a year without a purpose. Fast-forward to a couple weeks ago. I was in my kitchen thinking about changing out the decorations on my wall by my fridge. I keep a red berry heart in this spot and thought I needed something else up there for fall. However I realized that if I put something fall-ish up there, then I would need something Christmas-y up there, and the cycle would be never ending. I thought what could I put up their that would stay, and would be useful? Ah-HA! A Chalkboard! Immediately I started thinking about that mirror and painting it with chalkboard paint. Here was the process...

Tape the edges of the mirror to paint the frame. Once that dried I did a second coat. Then I had to tape the frame to spray paint the chalk board paint. After two coats of that...I was ready to hang and post my first message. I love the new look and I think I will get a lot more use out of the chalkboard than I will seasonal decor. Total price of project....NOTHING. I already had the paint, paintbrushes, and the mirror. YEAH!

Tuesday, September 29, 2009

Rolo Brownie Bites

A couple weeks ago I needed a quick dessert to take to a family birthday. I had this recipe so I wanted to try it. Its super easy and everyone at the party loved them.

What you will need:

Box of Browies and the ingredients listed on the box

Bag of individual Rolo's

Miniature cupcake/muffin paper

Instructions:

Preheat oven to 35o degrees

Make the Brownie Batter as the box instucts.

Put 1/2 tbsp of brownie mix into each cupcake liner....I like to use the Pampered Chef scoop.

Then drop a Rolo into the brownie mix and cover rolo with another 1/2 tbsp of batter.

My personal Sous Chef putting in the Rolo's candy

Before they go into the oven. You can see some of the brownies are fully covered with batter and some need to be covered

Place into the oven for 18 minutes. DO NOT OVER BAKE! I promise they will not look like they are done. In fact, my first batch I baked for a couple more minutes and my brownie bites were HARD AS A ROCK! Do not OVER Bake...I repeat do not over bake!

Cool for at least 30 minutes before tasting. ENJOY!

The Final Look